How to Host a Free Static Website for Your Project Documentation
Introduction
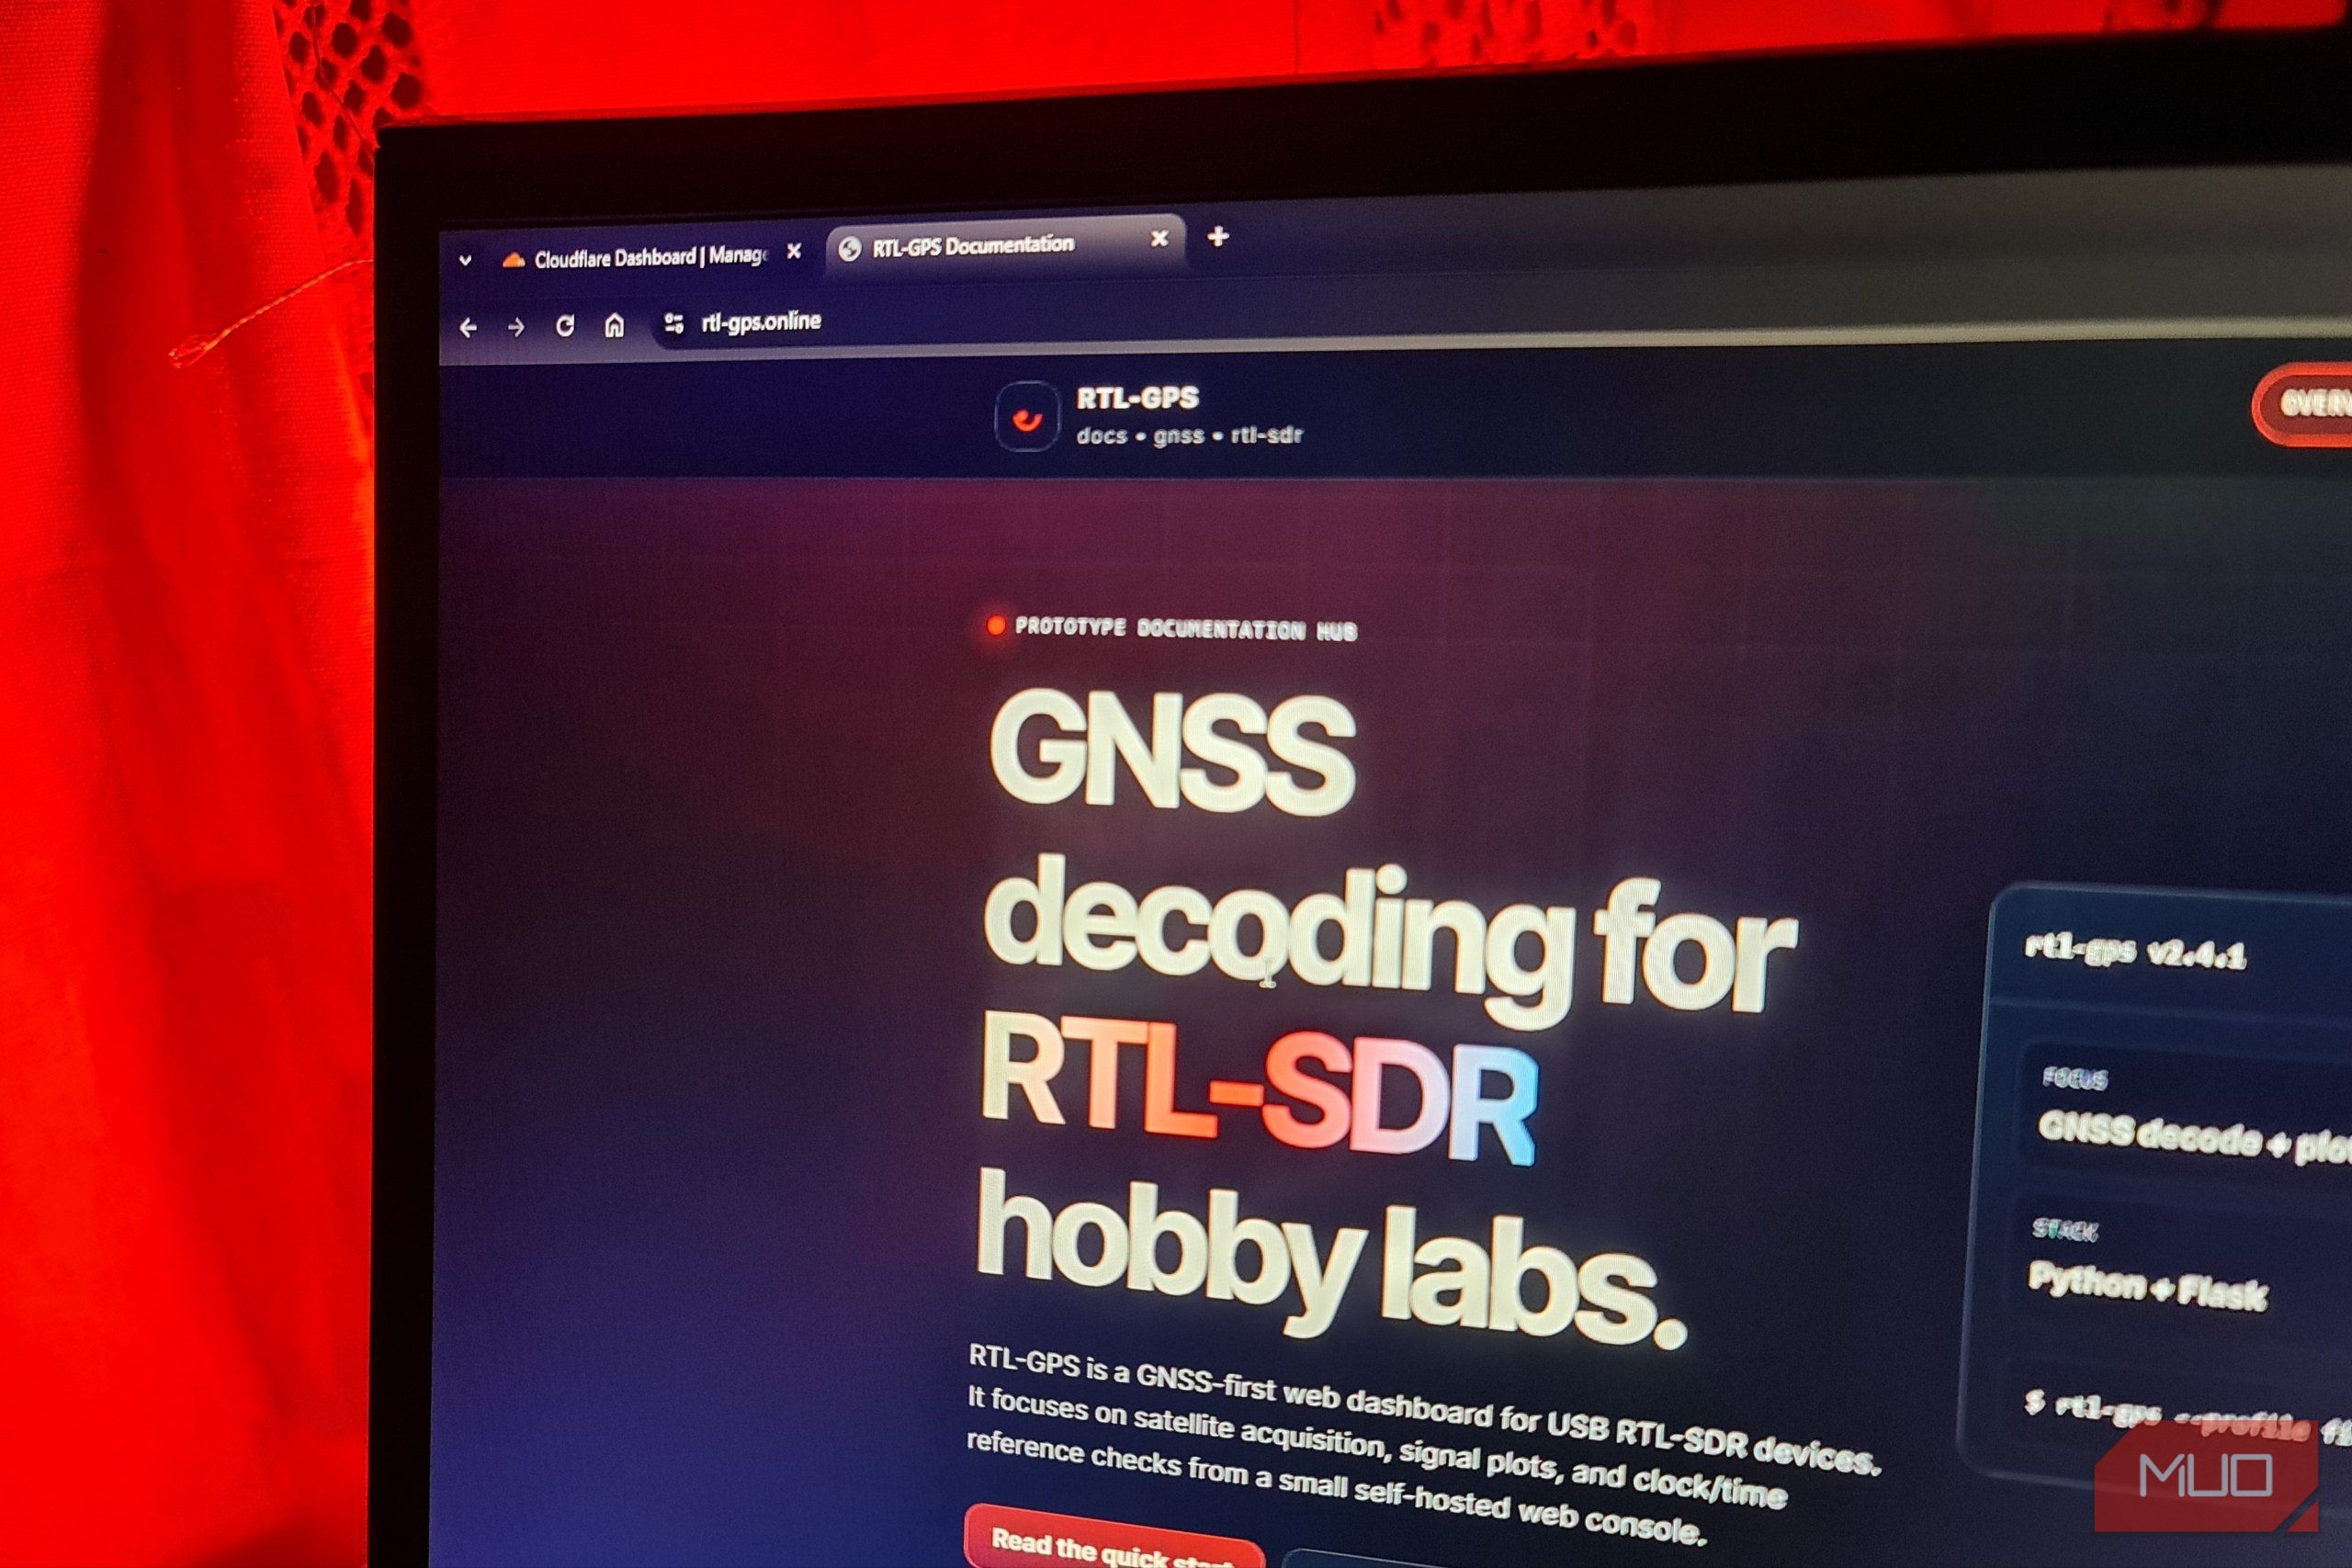
After finishing an open-source hobby project like an RTL-GPS GNSS application, you often need to publish documentation, landing pages, or setup guides online. In the past, hosting a simple website meant paying for a server or a shared hosting plan. Today, you can deploy a fully functional static site—complete with custom domain, HTTPS, and fast global delivery—completely free. This guide walks you through every step, from setting up your files to going live with zero cost.
What You Need
- A GitHub account (free) – see Step 1
- Basic knowledge of HTML/CSS or a static site generator (like Jekyll, Hugo, or Eleventy)
- A text editor (VS Code, Sublime, or even Notepad)
- Git installed on your computer (optional but recommended)
- A custom domain name (optional – if you want
yourproject.cominstead ofusername.github.io)
Step 1: Create Your Project’s Website Files
Start by building the pages you want to host. For a simple documentation site, you might include:
index.html– a landing page with a project overviewsetup.html– step-by-step installation instructionsstyle.css– basic styling to make it look good
If you prefer using a static site generator, install one (e.g., npm install -g eleventy) and create your content in markdown. The output will be a _site folder with all HTML files. Remember: the platform we’ll use only serves static files (HTML, CSS, JS, images). No server-side databases or scripts.
Step 2: Initialize a Git Repository
Open your terminal in your project folder and run:
git init
git add .
git commit -m "Initial commit"
This tracks your files so you can push them to GitHub later. If you’re using a site generator, make sure you add the output folder to .gitignore if needed.
Step 3: Push to GitHub
- Log in to GitHub and click the + icon → New repository.
- Name it exactly:
username.github.io(replaceusernamewith your GitHub username) if you want your main site. Otherwise, choose any name – we’ll deploy through GitHub Pages. - Do not initialize with a README (you already have local files).
- Copy the remote URL and run in terminal:
git remote add origin https://github.com/username/repo-name.git
git push -u origin main
Step 4: Enable GitHub Pages
- Go to your repository on GitHub.
- Click Settings (the tab near the top).
- In the left sidebar, click Pages.
- Under Branch, select
main(ormaster) and/ (root)folder, then Save. - If your static generator produces output in a
docs/folder, choose that instead. - Wait a minute or two. Your site will be live at
https://username.github.io/repo-name/(orusername.github.ioif you used that name).
That’s it! You now have a free, automatically updated website. Any time you push new commits to the branch, GitHub Pages rebuilds it.
Step 5 (Optional): Add a Custom Domain
To use your own domain (e.g., rtl-gps-docs.com):
- Purchase a domain from a registrar (Namecheap, Google Domains, Cloudflare, etc.).
- In your repository’s Pages settings, enter the custom domain in the Custom domain field and click Save.
- Update your domain’s DNS records:
- For a
wwwsubdomain: add a CNAME record pointingwwwtousername.github.io. - For the apex domain (e.g.,
example.com): create A records to GitHub’s IP addresses:185.199.108.153,185.199.109.153,185.199.110.153,185.199.111.153.
- For a
- Check the Enforce HTTPS box – GitHub will automatically provide a free SSL certificate.
Alternative Free Hosting Options
GitHub Pages isn’t the only free option. Consider these if you want more features:

- Netlify – Drag-and-drop deployment, automatic HTTPS, form handling. Great for static sites.
- Cloudflare Pages – Fast global CDN, unlimited bandwidth, integrates with Git.
- Vercel – Ideal for frontend frameworks, serverless functions.
- GitLab Pages – Similar to GitHub Pages, but with private repositories.
Each service has a free tier. The process is nearly identical: push your static files to a Git repository, connect the service, and publish.
Tips for Success
- Optimize for speed – Compress images, minify CSS/JS, and use a CDN (the platforms above do this automatically).
- Use a static site generator – Even for a simple site, generators like Jekyll or Eleventy let you write in Markdown, manage templates, and include navigation easily.
- Set up a 404 page – Create a
404.htmlin your root folder to handle broken links gracefully. - Keep your repository public – GitHub Pages requires public repos on free plans (except with GitHub Pro). For sensitive content, use Netlify or Cloudflare with a private repo.
- Monitor your build – If your site doesn’t update, check the Actions tab for any GitHub Pages build errors.
- Use a custom domain for credibility – Free subdomains like
.github.iowork fine, but a personal domain looks more professional and is easier to remember. - Add analytics – Services like Google Analytics, Plausible, or Fathom can be added via a snippet. You don’t need backend code.
- Backup your files – Regularly commit changes and optionally mirror your repo to another service.
Conclusion
You don’t need to pay for hosting a simple website anymore. Whether you’re documenting an open-source project like RTL-GPS GNSS or creating a personal portfolio, free static hosting providers offer speed, security, and reliability at zero cost. By following the steps above, you’ll have a live website in under an hour. No credit card, no server management – just your content uploaded effortlessly.