Organize Your Home Network with Static IP Addresses: A Step-by-Step Guide
Introduction
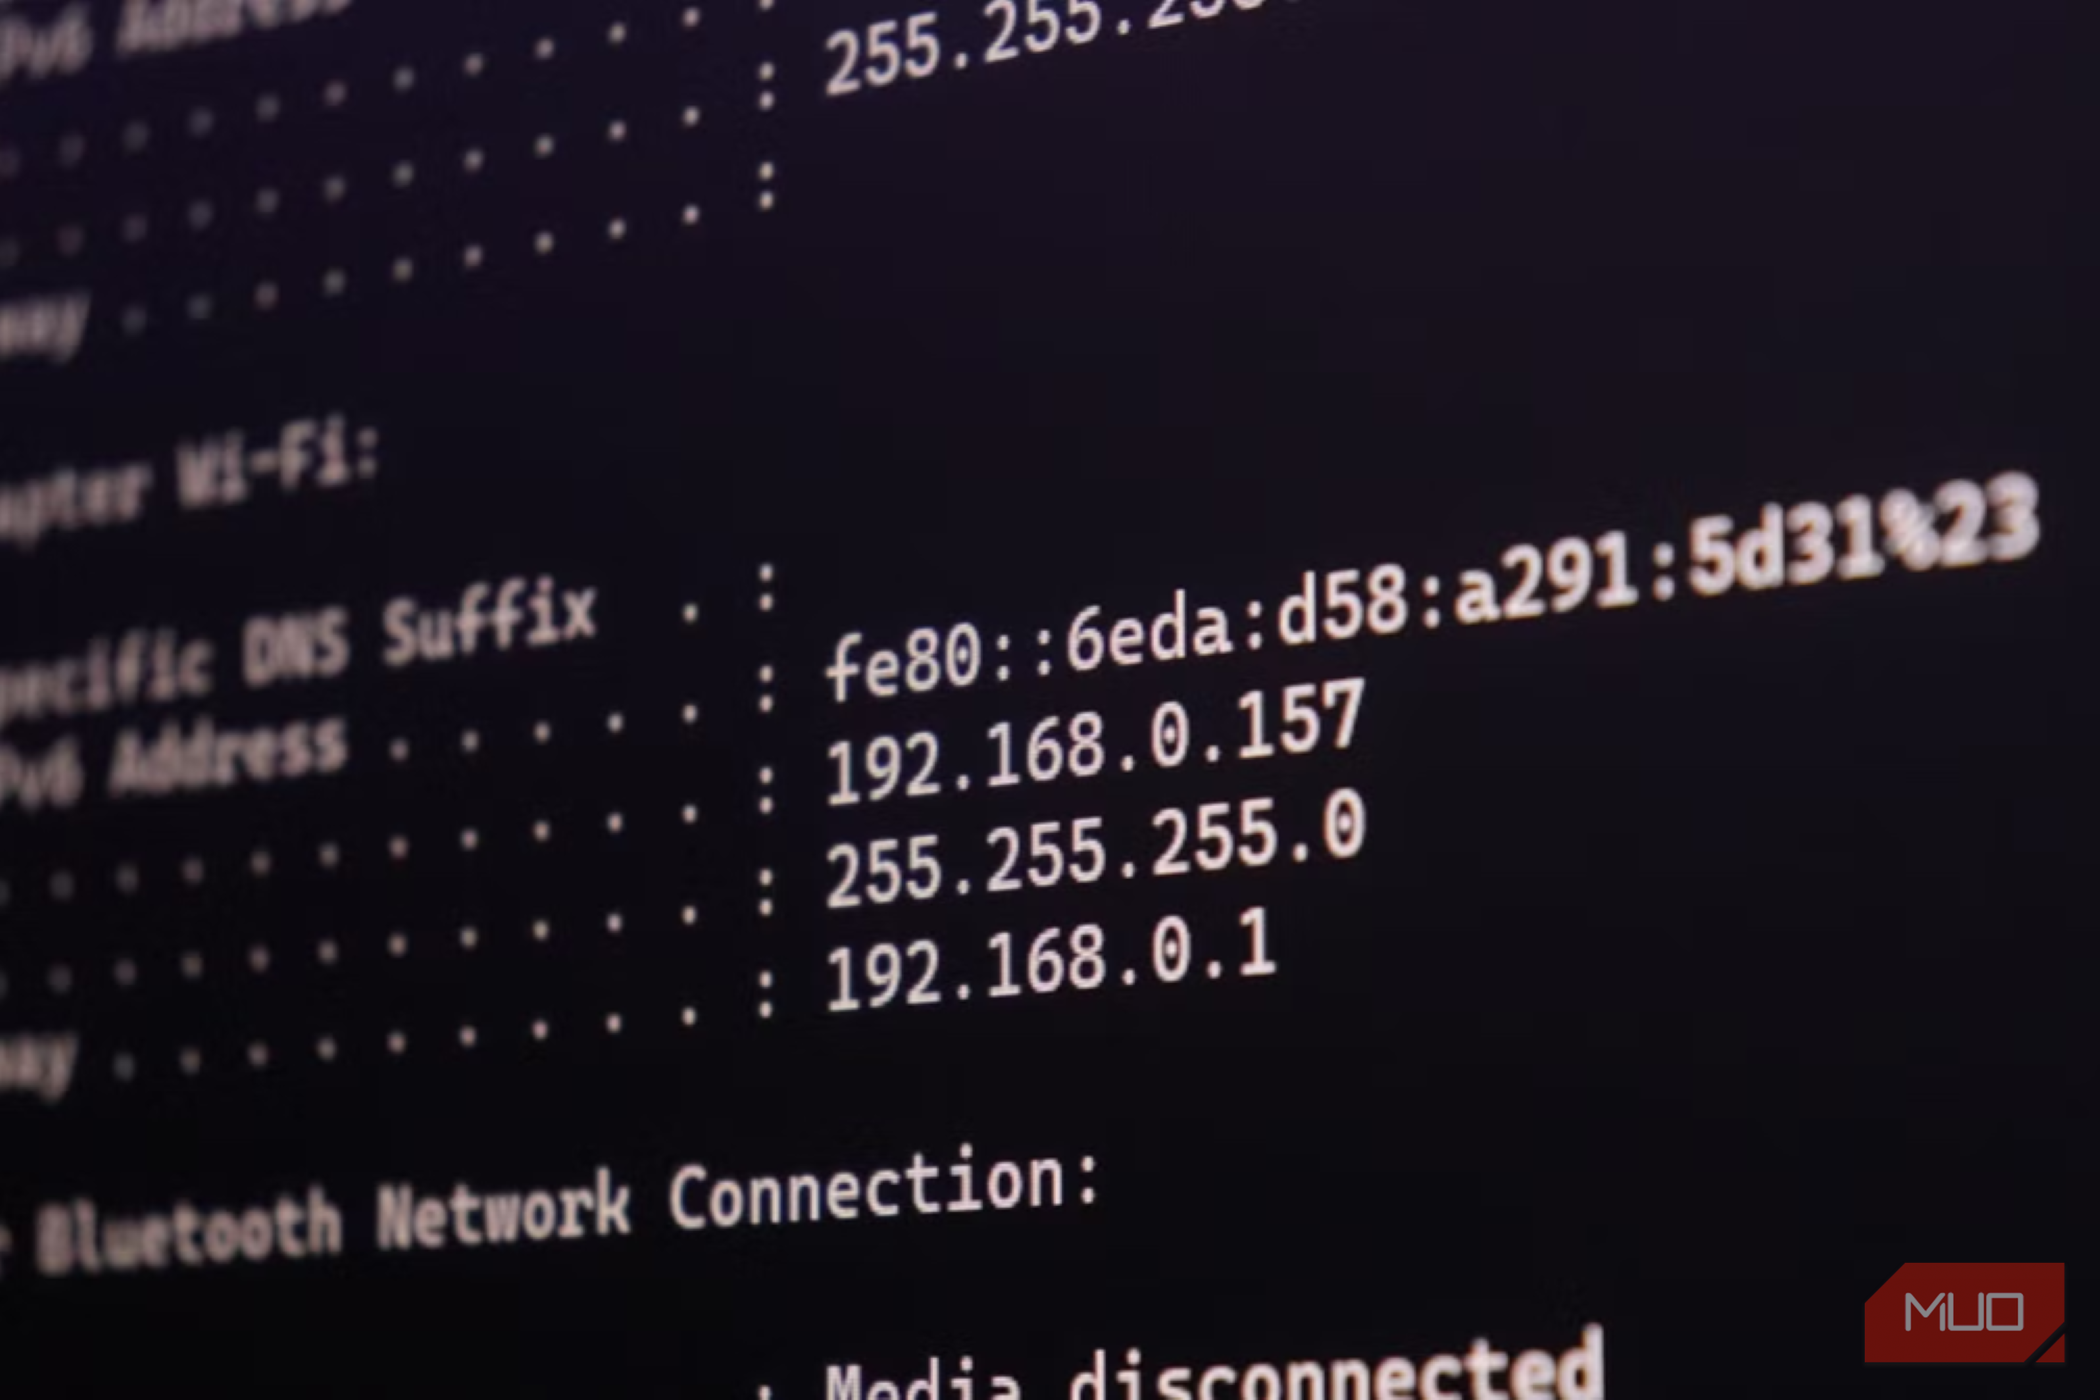
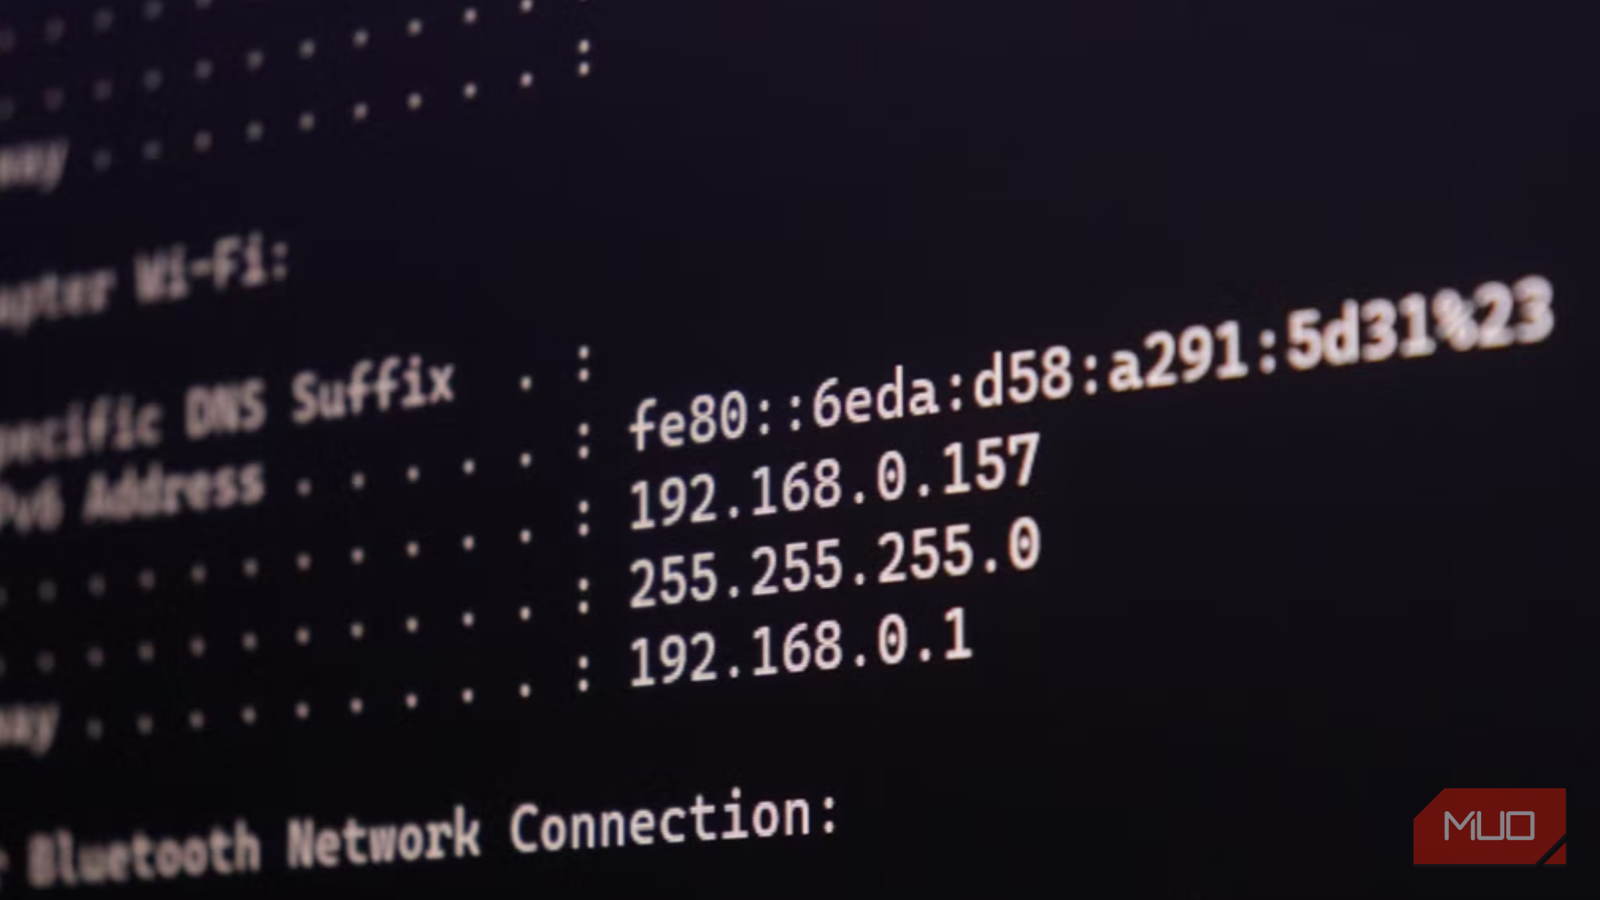
Your home network is a workhorse that mostly runs itself, thanks to clever automation like DHCP, which automatically hands out IP addresses to every device that connects. But if you’ve ever squinted at a series of numbers like 192.168.1.145 and wondered which device that belongs to, you know the chaos that comes with randomness. Assigning static IP addresses (or using DHCP reservations) brings order to that chaos, making it easy to identify printers, servers, security cameras, or even your kids’ gaming consoles at a glance. This guide walks you through planning and implementing a sensible IP addressing scheme, so your network not only works but makes sense when you need to troubleshoot or expand.
What You Need
Before you start, gather these essentials:
- Router admin credentials – Admin username and password (usually found on a sticker or in the router manual).
- A list of all devices on your network – Include computers, phones, smart TVs, IoT gadgets, printers, NAS drives, etc.
- Your current IP subnet – Typically something like 192.168.1.x or 10.0.0.x. Check your router’s status page.
- Pen and paper or a spreadsheet – To plan your new addressing scheme.
- Patience – A few minutes of planning can save hours of frustration later.
Step-by-Step Guide
Step 1: Understand How IP Addresses Are Assigned
By default, your router’s DHCP server hands out addresses from a pool (e.g., 192.168.1.100 to 192.168.1.200). Devices get a lease – usually valid for 24 hours – and they can change each time they reconnect. Static IPs, on the other hand, are permanently assigned to a device’s MAC address. You can set them either directly on the device (manual static IP) or via DHCP reservation on the router. Reservations are easier to manage because all changes happen in one place.
Step 2: Choose a Logical IP Scheme
Decide how you want your addresses organized. A common approach is to reserve the beginning of the subnet for infrastructure. For example:
- .1 – .10 – Router, switches, access points
- .11 – .30 – Servers, NAS, printers
- .31 – .50 – Security cameras, IoT hubs
- .51 – .100 – Desktop computers, laptops
- .101+ – DHCP pool for guest/random devices
Write down your plan. Keep it simple – you don’t need to reserve 100 addresses; just enough for devices you regularly interact with.
Step 3: Access Your Router’s Admin Panel
Open a web browser and type your router’s IP address (often 192.168.1.1 or 192.168.0.1). Log in. Navigate to the LAN or DHCP settings. Look for a section called “DHCP Reservation” or “Static Leases”. If your router doesn’t support reservations, you’ll need to set static IPs manually on each device – a slower but still workable method.
Step 4: Assign Static IPs via DHCP Reservation
For each device you want to fix:
- Find the device’s MAC address (e.g., from its network settings or from the router’s client list).
- In the reservation table, add a new entry with the MAC and the IP you’ve chosen (make sure it’s outside your DHCP pool range).
- Give it a descriptive name (e.g., “LivingRoomPrinter”).
- Save settings. The router will apply the change immediately or after a reboot.
If you must set a static IP on the device itself, go to its network settings, choose Manual or Static, and enter the IP, subnet mask (usually 255.255.255.0), default gateway (your router’s IP), and DNS (router IP or public like 8.8.8.8).
Step 5: Update DNS Settings (Optional but Helpful)
Some routers allow you to associate hostnames with IPs. If yours does, give each reservation a friendly name like “printer” or “nas”. Then you can access devices by name (e.g., http://printer) instead of IP. If your router doesn’t support local DNS, consider running a simple DNS server (like Pi-hole) or use a hosts file on your computer – but that’s a per-device fix.
Step 6: Test and Document Everything
After assigning static IPs, reconnect each device (or reboot them) to pick up the new address. Verify by pinging the IP or accessing the device’s web interface. Finally, create a document (a spreadsheet or a text file) listing each device, its MAC, its assigned IP, and any notes. Update this whenever you add or remove a device. This becomes your network inventory – invaluable when troubleshooting.
Tips for Success
- Plan ahead: Leave gaps in your scheme for future devices. For example, reserve .20–.29 for printers, .30–.39 for cameras, etc.
- Use DHCP reservations instead of manual static IPs whenever possible – they’re easy to change from the router and avoid conflicts.
- Keep DHCP pool separate: Assign reservations IPs that are outside the DHCP pool range to avoid accidental duplication.
- Label your devices: Physically mark network cables and devices with their IP or hostname – especially if you have many.
- Consider a network scanner: Tools like Angry IP Scanner or Advanced IP Scanner can show you what’s alive on your network, helping you spot IP conflicts.
- Share the document: If others manage your network, give them access to your IP scheme documentation.
By taking an afternoon to organize your IP addresses, you transform your home network from a random collection of numbers into a well-labeled, easy-to-manage system. Whether you’re setting up a media server, a smart home hub, or just want to know which device is hogging bandwidth, this simple change makes everything clearer. Your future self will thank you.